Table of Contents
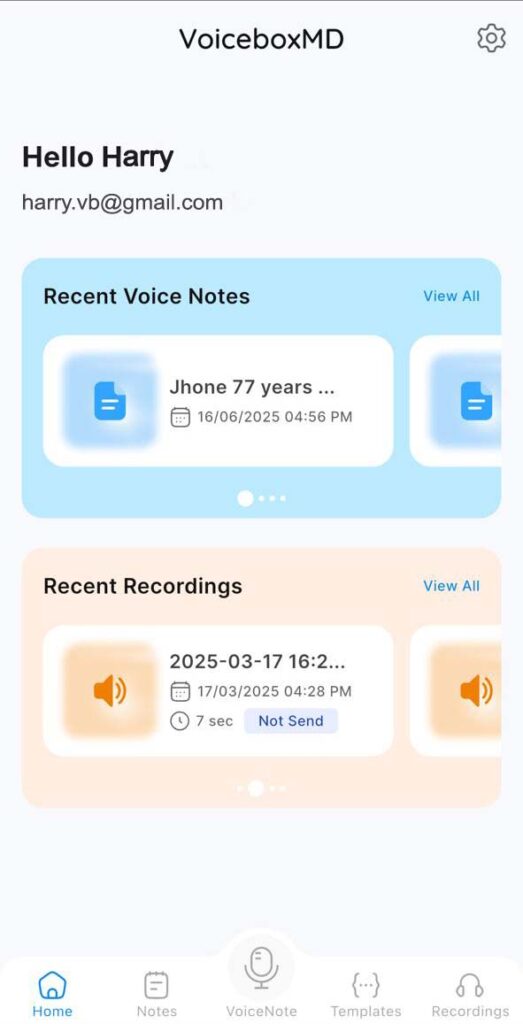
VoiceboxMD allows you to seamlessly attach the audio source to your automatically transcribed dictation directly from the VoiceboxMD app’s home page.
- Log in to the VoiceboxMD app and select the Recordings.
- Tap the Microphone icon to start a new recording.

- Once you’ve finished dictation, tap the checkmark on the right to save the recording.
- To rename your dictation:
- Swipe left on the recording and tap Rename.
- Enter a new name and tap OK.
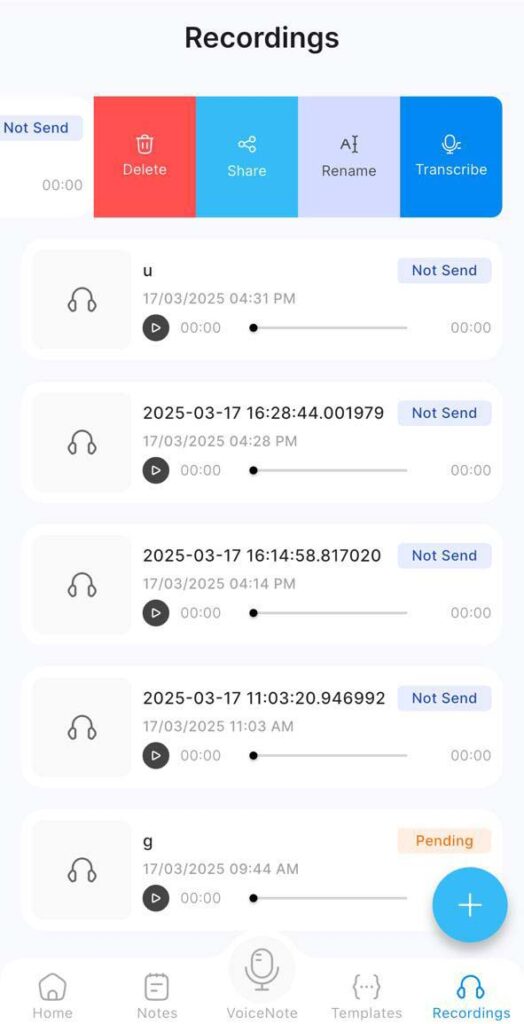
- To send the recording for automatic transcription:
- Swipe left again on the recording and select Transcribe.
- VoiceboxMD will begin the transcription process. This may take a few minutes.
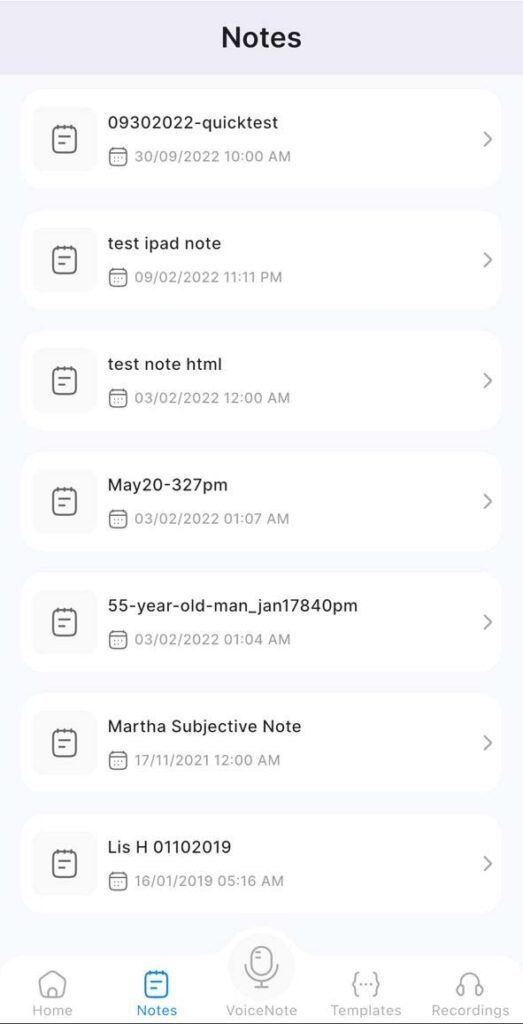
- Once the transcription is ready:
- Open the Notes section to view the completed transcription.
Starting a New Real-Time Dictation #
- Go to the VoiceNotes section.
- Get the cursor to the description section to activate editing mode.
- Click the Microphone icon at the bottom and begin dictating. VoiceboxMD will transcribe your words in real time.
- Once finished, tap the Microphone icon again to stop dictation.
- Add a title for your note by clicking on the Pencil icon in the top right corner.

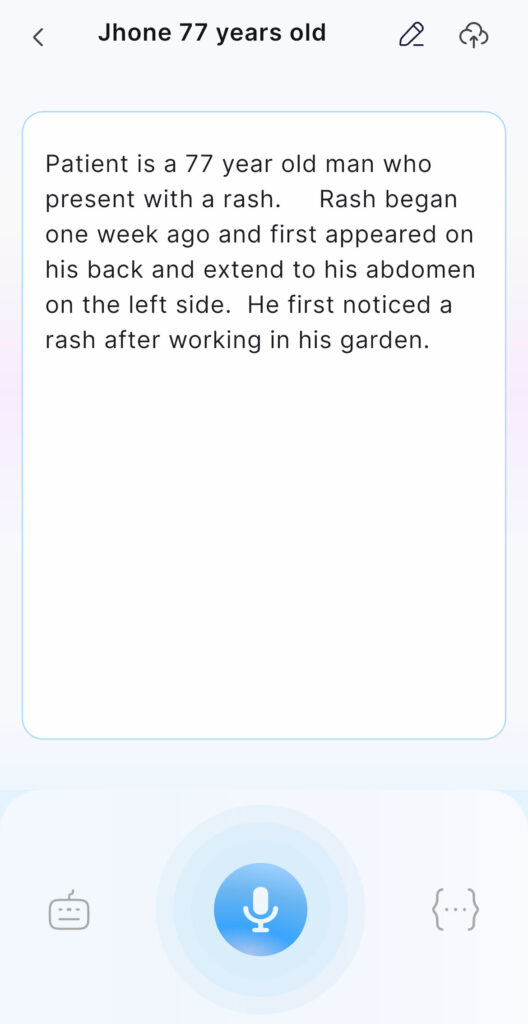
- Review the transcription and make any necessary edits.
- Save the transcription by clicking the Save icon in the top right corner.
Enjoy seamless voice-to-text transcription with VoiceboxMD for iOS!
Tips: Speak at a steady pace, pronouncing clearly for optimal results.